Color Trends for the Cupboards
Daydreaming about a remodel? Looking to update your kitchen before putting your house on the market in the spring?
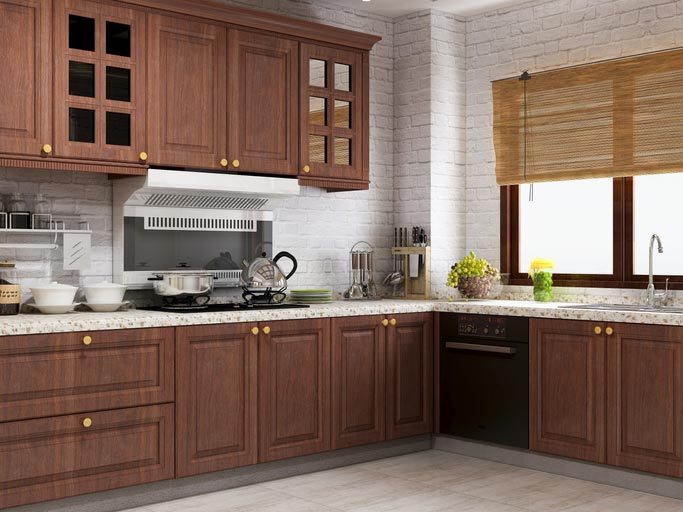
Design trends are moving more and more towards painted cabinets. Whether you’re a fan of neutral gray stays or a pleasant blue finish, there’s no denying that painting your cabinets offers you plenty of options to show off your personality within your home.
However, the one downside to all that paint is that it covers up the natural beauty of your wood!
At Cardwell, we believe there’s something to be said for finding the perfect pairing between trendy, stylish design and the all-natural allure of quality hardwood. After all, hardwoods require so much care and precision to procure, not to mention they lighten your wallet more than softwoods.
So, why not show it off?
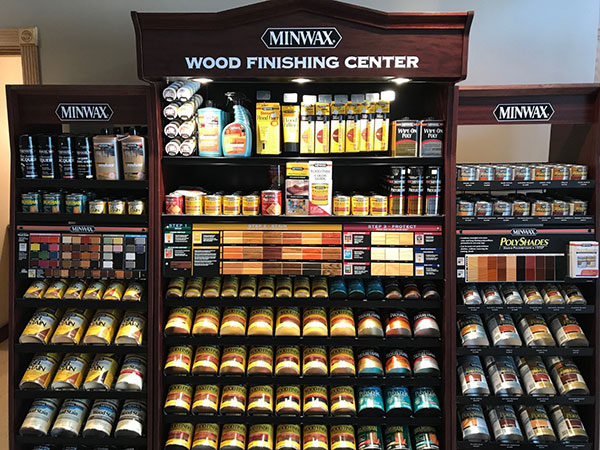
That’s why Cardwell offers you the best of both worlds. Our custom stains give you the pop of color you crave while maintaining the beauty of the wood you so painstakingly chose. Each of our lacquers is completely customizable, meaning we are confident in saying we can match any color on any fan deck.

We understand design trends, but we also believe that custom tinted lacquers present you with the opportunity to raise the level of your cabinets even further.
For example, if your redesign involves committing to the longevity of skillfully-made hardwood cabinets, try using a clear finish to show off the warm colors of your wood. Or, maybe you want to capitalize on the modern appeal of your new loft? Try a darker lacquer to give your cabinets that sleek, professional appeal.
At Cardwell, whatever your design goals might be, we can guarantee that we will find you a custom lacquer that fits.
We can even work with you to deliver a statement piece to help your home or business stand out from the crowd. Give us a call and we’ll be happy to help you plan out your custom millwork.
At the end of the day, we carry all the products in our retail store that help take your vision to reality. Let us help you find what you need or browse our shop for inspiration on your next big project.
Rubio Monocoat Spotlight
Don’t let your hard work be chipped away. With the level of care and expertise that goes in to every woodworking project, the last thing you want to do is skimp on protecting the finished product. To that end, there’s no better wood coating on the market than Rubio Monocoat.
Cardwell Hardwoods proudly stocks the highest quality products in the woodworking industry, which is why we can’t stop singing Rubio Monocoat’s praises. This hard-wax oil simultaneously protects your wood from normal wear and tear as well as liquid damage. With the proper care and attention, a single application of this product can shield your wood from damage over the course of an entire lifetime.
As the name implies, this product only requires one coat. No sealer, no sanding in between coats, no double or triple top coats. Just one application is all that’s needed. This is a huge benefit of this product when it comes to your tight schedule. One unique feature of this product is its ability to only bond with the material being coated, not to itself. So if your project gets damaged, just reapply Rubio Monocoat to the affected area and it will match perfectly.
As retailers, we love how this coating provides our customers not only with the high-performance utility you’d come to expect from an international brand, but also the variety our customers crave to make their projects stand out. Rubio Monocoat comes in a variety of 40 colors ranging from antique bronze to charcoal grey, and for those looking to truly assert their creative side, their pre-treatment product Rubio Monocoat Precolor Easy even affords the opportunity to create special effects and contrasts on wood surfaces.
While form and function are both certainly great selling points, perhaps our favorite aspect of this product is the fact that it is zero-VOC. Volatile organic compounds, or VOCs, are carbon-containing compounds that easily become vapors and can present health hazards, especially if used indoors. No VOCs means Rubio Monocoat is safe to use in any area of the home. Whether you’re looking to finish your wood floors, your wooden cabinets, or that dining room tabletop, Rubio Monocoat ensures your wood will last for you years without presenting any problems of its own.
We love hearing about our customer’s projects each and every time they walk through our doors, but woodworking doesn’t stop when you pack away the saw and the sandpaper. Protecting your wood from wear and tear is absolutely vital to the success of your project. In our opinion, there’s nothing better to shield your creations than Rubio Monocoat.

Choosing the right table saw blade
After you’ve found the best table saw for your woodshop, it’s time to find the best blades for your projects.
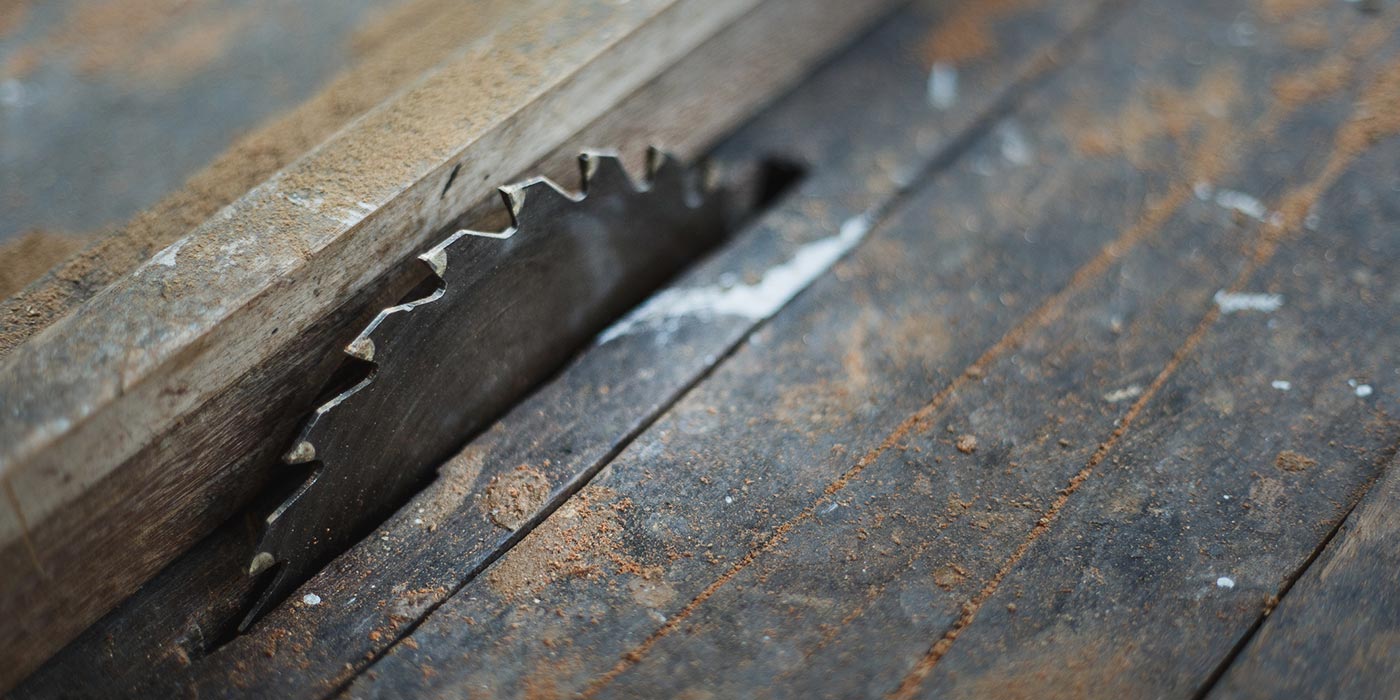
The saw blade that comes with most table saws is usually not able to handle every type of wood. Your table saw blades must be versatile tools. The right blade makes various cuts smoothly and safely.
Combing through all the available saw blades can feel overwhelming. Not every blade is created equal. We are sometimes asked if a good blade is worth the investment. The answer is always yes. As one of your core tools, table saw blades need to be carefully selected.
When choosing your blade ask yourself some of the following questions:
- What materials will the blade cut?
- What types of cuts do I need to make?
- How powerful is the saw and what size blade does the manufacturer recommend?
- Do you want to build a collection of specialized blades, or do you want one blade that can make all kinds of cuts?
After you’ve determined your table saw’s use there are a few common blades you will be looking at.
Three basic types of woodworking blades:
Crosscut:
These table saw blades are designed to produce a smooth cut across the grain of the wood without splintering or tearing. This type of blade will usually have 60 to 80 teeth.
Rip:
Ideal for ripping hardwoods or thick softwood stock. Quality ripping table saw blades will slice through hardwood with minimal effort and leave a clean cut with minimal scoring.
Combination Blades:
Don’t confuse combination blades with being an all-purpose blade. While combination blades can work multiple cuts, rip and crosscut, they are not general blades. It’s still vital to have specific blades for different cuts and wood characteristics.
Each one of these common blades was crafted to perform a different task. Map out your projects to plan out your blade purchases. Similar to other woodworking tools you will want to upgrade your blade as you advance your woodworking skills. If you’re unsure on which blade to purchase yourself ask any of our experienced Cardwell employees.

Beginner Woodworking Essentials
Whether you’re a budding professional or a new hobbyist, there are basics of woodworking to be mastered before venturing into advanced projects. These skills start with your woodworking essentials.
For budget and skill reasons, build your woodworking arsenal one tool at a time. Take the time to master each tool before advancing. This is a craft that has been honed for hundreds of years. It’s not going anywhere. Enjoy your process.
As you budget each project, build up to the purchase of a new tool. By spreading out the cost of equipment, you’ll be able to spend time with a new tool and avoid financial stress.
Consider adding power tools slowly as you develop your skill set. You can’t fully appreciate your power tools without first working with your hands. Some wood workers find that they prefer working with hand tools. There are plenty of woodworkers making exceptional pieces with hands tools. The power tool addiction is real, but our work can continue without them.
Here are a few woodworking essentials to get you warmed up to the woodworking world:
Woodworking Bench
Maybe the most fundamental and most important tool in a woodworking shop. It’s difficult to build on a shaky table. Stability is essential for accurate measurements and cuts.
Layout, Marking, & Measuring Tools
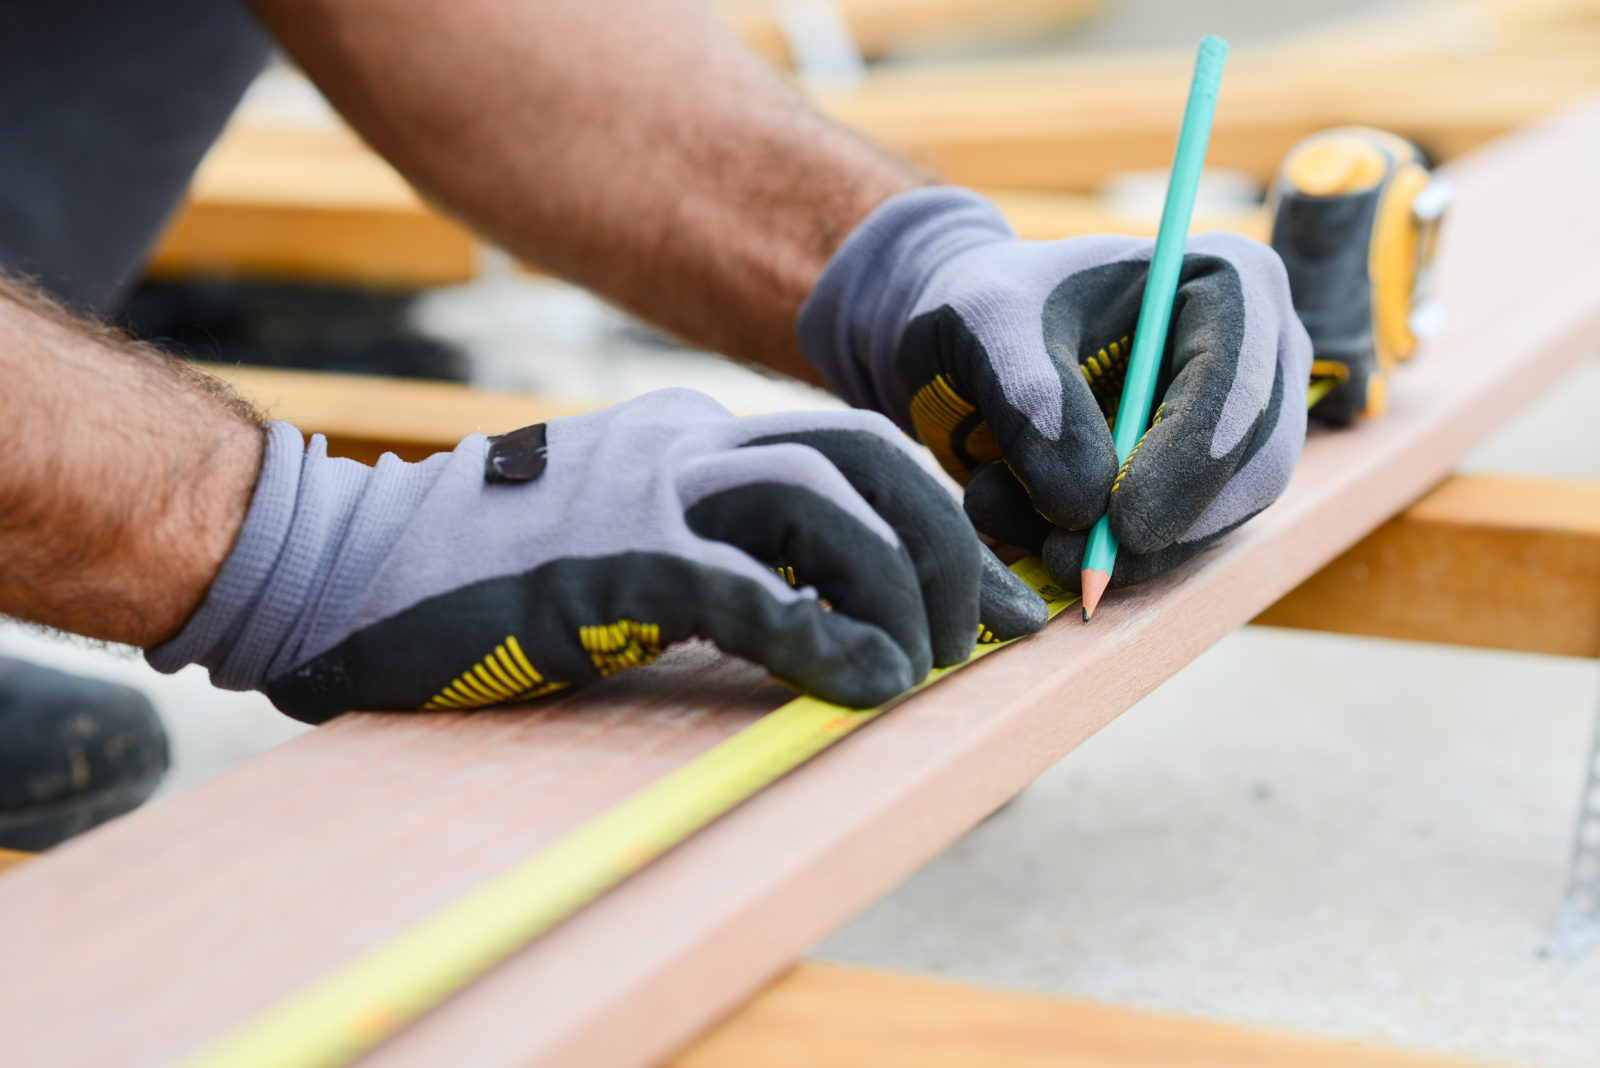
Precision is the key to woodworking. Measure twice. Cut once.
Clamps
While it is fully possible to complete many projects without them, clamps add a level of security and balance that’s hard to replicate. Clamps hold wood pieces in place so you can attach or alter wood without moving pieces. As a beginner, clamps will make your work easier and more accurate. You can never have enough clamps.
Chisels
One of the most recognized hand woodworking tools, chisels are an essential to making fine woodworking pieces. Chisels are used to make wood joints. There are three core types of chisels: bench chisels, paring chisels, and mortise chisels.
Miter Saw
Miter saws are used to make precise cuts in your wood. Miter saws come in a variety of sizes and types to work with most thicknesses and grains of wood. Your standard saw blade will eventually need to be upgraded for finer wood cuts. The higher the tooth count, the finer the cut.
Wood Glue
Match the wood glue to the project. Most glues will do the job, but there are differences. Glue specifically meant for wood projects create a bond that in most cases, is actually stronger than the wood itself. Also, some glues are water-proof, while others are only water resistant, so have a plan before you start any project.
Wondering how to start shopping? We will be releasing woodworking tool buying guides in the upcoming months to aid you in purchasing your tools. We are always available in store as a shopping resource.

The One-Day Woodworking Gift: Wooden Cutting Board
This easy project can be created at any skill level. For many, a basic cutting board is their first woodworking project.
No matter the scale of your project, the secret to one-day woodworking projects is preparation. You should be able to use your basic tool kit for this project.
Materials You’ll Need:
- Scrap wood
- Planer to smooth edges
- Multiple grains of sandpaper
- Bar clamps
- Food safe wood finishing oil
- Food safe wood glue
- Steady work surface
- Table saw or another saw that can make long cuts
We suggest using scrap wood because it’s cheap, readily available, and more environmentally conscious compared to purchasing new material for a small project.
When choosing your material, try for hardwoods with finer grains. Think walnut, hard maple, birch, or oak. These woods are heavy, which will prevent sliding when cutting, and they are very durable. Your beginning material should be cut between 2 ½ and 3 ½ inches wide to prevent splitting and warping.
To Make:
Cut your wood material into three, identical length pieces. First, sand and finish your material. Before cutting, orient all pieces so the wood grain runs in the same direction. Then cut with your saw of choice.
Glue the pieces. Apply a thin layer of wood glue to the edge of one of the mating pieces for each board joint (glued edge to an unglued edge).
Clamp the board. Push ends together to be perfectly flushed from the top. Read glue directions for dry time, usually 30 minutes. Wait at least two hours before continuing to work on the board.
Sand the board. Sand your newly assembled board to smooth down edges and uneven spots. Start sanding with coarse sandpaper (80 or 120-grit) and work your way up to finer grits until you hit 220-grit.
Seal your cutting board. Oils like linseed and tung will harden the wood, sealing it from the inside. Other oils like mineral oil will only penetrate the surface. Beeswax is another option for sealing. To keep your cutting board in pristine condition, seal your board every four to six weeks depending on use.
Here are some cutting board tutorial videos we like for inspiration.
(Embed all links w/screen)
Cutting Board Made with Power Tools and Scrap Wood
Hand Tools Cutting Board
DIY Dream: Three Tool Cutting Board
Cutting Board with Live Edge

